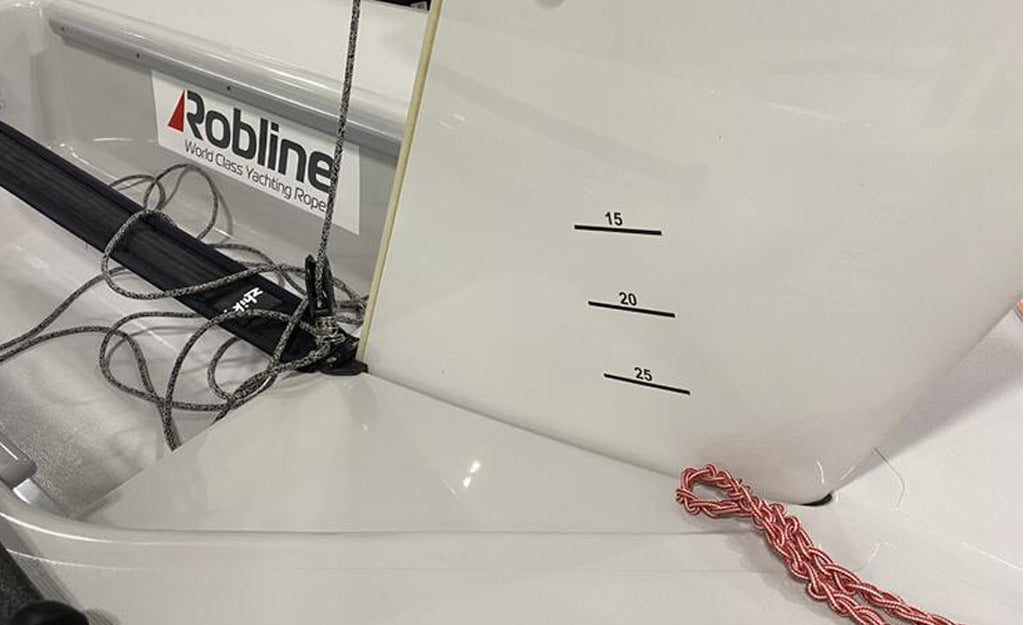
⛵️ Fast Dispatch - Getting You Back on the Water ⛵️

Trusted For 12 Years

Over 46,000+ Orders Shipped

90 Day Risk Free Returns

Over 4,000 5 Star Reviews

Price Match Promise

April 17, 2024 2 min read

ILCA Daggerboard Calibration Markers By Jack Graham-Troll

Whilst Jack was collecting His New Devoti ILCA we had a great chat about the ways he marks his boat with various calibration stickers. Whilst some people would not be as open to sharing this Jack has taken the time to write up why and how to used these calibration stickers.

Calibration markings are a valuable tool for optimizing boat setup and speed. Using these markings as a reference, you can note and replicate the optimal control settings for different sailing conditions. This allows you to save precious time when adjusting controls during a race and maximize your boat's speed around each mark and along the racecourse.

Marking Your Centreboard 

The centreboard plays a crucial role in maintaining stability and maximizing boat speed, especially downwind and in varying wind and sea conditions. As we become more advanced and focus on other downwind skills , it's important not to overlook the centreboard settings.

Having calibration markings for how the centreboard is set can significantly improve consistency. By noting the optimal position for different conditions, you can make the right adjustment quickly and accurately to set the centreboard in the position that optimises performance.

Consistency is key and calibration markings for the centreboard helps maintain that consistency. It allows you to easily replicate successful settings based on the specific conditions. Close attention to the centreboard settings and utilising calibration markings can enhance your overall performance.

Fitting your Centreboard calibration reference sticker

Centreboard calibration markings indicate the height your centreboard is lifted up from the deck of your ILCA dinghy.

These specific height indicators are referenced in the Laser handbook by Paul Goodison and provide a good benchmark for centreboard settings.

Follow these simple steps to apply the calibration sticker correctly: 1. Measure down 15 cm from the centreboard stop, at right angles to the top sloping edge of the centreboard (the same angled slope as the centreboard casing).

2. Align the number 15 marker line on the calibration sticker with the 15cm measurement, positioning it at right angles to the top sloping edge of the centreboard.

3. When raising the centreboard from the casing, the marker lines on the calibration sticker will indicate when heights of 15, 20, and 25 cm are reached.

Using these height markings will provide a visual guide to replicate your centreboard settings.